Pages

Thursday, September 6, 2012

Mini Fruit Pizzas

 (Moved this post over from a blog I started a loooonnnng time ago and then immediately forgot)


We had some of out couple friends over a few nights ago for dinner. I had dinner all planned out but was stumped on a dessert. One of our friends is allergic to chocolate and the other doesn't like candy/cakey food. So to try and combat these things I came up with fruit pizzas. My family loves Fruit pizza and we make them full size for birthdays, and holidays. But, since we were a small group this night, I decided to make this mini version so I could make exactly enough for everyone without having a ton leftover. If you have the ingredients on hand, these are great to whip up for a snack too. I found I really like doing the pizzas individually because they get soggy after a while in the fridge. Here is how we made them:

Ingredients:

SOFT Sugar cookies ( I bought the boxed dozen kind at wal-mart)
Whipped/Spreadable cream cheese ( I used low fat)
Pineapples- I used chunks, but you could use a ring or even crushed sprinkled over top of the other fruit
Kiwi
Mandarin Oranges
Strawberries
Grapes
Or any fruit you like and want to include

Directions:

1. Lay out cookies one at a time on tray or serving plate. Smooth a moderate layer of cream cheese on cookie (enough to hold fruit in place).
2. Place fruit in any pattern you with around cream cheese. Save a round fruit for the middle because even though you are placing it in the cream cheese they still tend to roll off.
3. Enjoy!

I forgot to take an 'after' photo the night I made them, but I made some for breakfast the next day. Yours should resemble this, possibly with better arrangement.
Fruit pizza is so delicious!

Thursday, August 23, 2012

Refashioned Pillow Before & After

 (moved this post over from a blog I started a looonnnng time ago and then immediately forgot!)


We have had these toss pillows for YEARS. I never used them for anything as they never matched anything I own. But I bought several different styles on clearance for $1 each, with the intention of someday using them. Today was the day.


Before:
Originally, the pillow was 18" (not counting the border) and kinda flat from being stored all this time. So I took a few inches off and cut my fabric 15"x15" (14" finished size) so the stuffing would better fill it up. I wound up with a small handful left over. Not bad!


Fabric Choices: After:
The pillow looks kinda lumpy in the picture, but I think it's because of the camera angle. It looks pretty flat in real life.

I am really excited about using these as accent pillows when we're finished decorating the bedroom. In addition to a pair of pillows like the one above, I want to make a roll pillow out of the backing fabric. I found some great pillow tutorials over at Sew 4 Home while looking at different styles. I was a little intimidated by the skill on a lot of the pillows I saw but I figured a basic square was a great way to work up some courage.

New Life to an Old Chair

(moving this post over from a blog I started a loooonnng time ago and them immediately forgot)

So the next step in our office decorating was to cover our chair. I have a love/hate relationship with this chair. It's comfortable and the perfect height for my tall table. But the fabric is bad. BAD-BAD. The fabric is hot and itchy and staying in it for a long period of time is pretty well impossible.


So we decided to change all that. The only thing I purchased for this project was a staple gun. I've never used a staple gun before and was a little skittish at the beginning, but by the time I was finished, I was a natural.

The hardest part of the whole recovering was getting the original staples out. I don't own a staple puller and have no clue if they'll remove this kind of staple, BUT I did have a teeny tiny screw driver and pliers. That's how I removed all the staples.

I removed the old fabric and pinned it to the new, then cut around it to get the general size I needed. I first staple a double layer of craft batting on both the seat and the back for a little extra cushioning and then followed suit by stapling the fabric on top of that.


Can you tell I cleaned between the two pics? lol

Detail
Overall, for my first try reupholstering something, I think it went pretty well. I can't wait to try something else.

Thanks for looking!

Thursday, August 9, 2012

Lamp Redo

<div style="text-align: center;">
<div style="text-align: left;">
Our office/craft room has no color. It's black, white, and occasionally silver. Blah.  So in order to bring color to this room we decided to go all out and use BRIGHT! COLORS! through the whole thing. When I whipped out pink and orange and green and purple for Jimmy to look at, he was kind of hesitant. But as he has seen things start to take shape, he is getting more into it. The first project I took on was probably also the easiest: The lamp shade. Start to finish, I maybe spent 30 minutes decorating the shade. I'm still iffy on whether to paint the base (it's black) or not, but for right now, I am very happy.</div>
<br />
<br />
<a href="https://blogger.googleusercontent.com/img/b/R29vZ2xl/AVvXsEiqj1MdKcy0_W9xonb-qXnjJ7gi2swlJ30mmtRVAgHRxOHYxsC62j22NcmhfANjTDHgCqQ77uE16YJLUiL12JFUauc-p3bRbsvTMtCR-Wx2vpsutKATWroesKw9MU13KHkt7bKFZ6NoQs5B/s1600/lamp.JPG" onblur="try {parent.deselectBloggerImageGracefully();} catch(e) {}"><img alt="" border="0" id="BLOGGER_PHOTO_ID_5503418943411483170" src="https://blogger.googleusercontent.com/img/b/R29vZ2xl/AVvXsEiqj1MdKcy0_W9xonb-qXnjJ7gi2swlJ30mmtRVAgHRxOHYxsC62j22NcmhfANjTDHgCqQ77uE16YJLUiL12JFUauc-p3bRbsvTMtCR-Wx2vpsutKATWroesKw9MU13KHkt7bKFZ6NoQs5B/s320/lamp.JPG" style="cursor: pointer; display: block; height: 240px; margin: 0px auto 10px; text-align: center; width: 320px;" /></a><span style="font-style: italic;">I love lamp!</span></div>
<br />
Originally the shade was a red textured fabric. I covered over it with a fuschia fabric first. Then I took strips of wired striped ribbon and cut 8 lengths to cover the lamp and then wrapped around one at a time, using the wire to hold position. I secured with my absolute favorite adhesive for just about anything:  sticky strip (tacky tape). That's it!

Tuesday, April 3, 2012

Easter Wreath

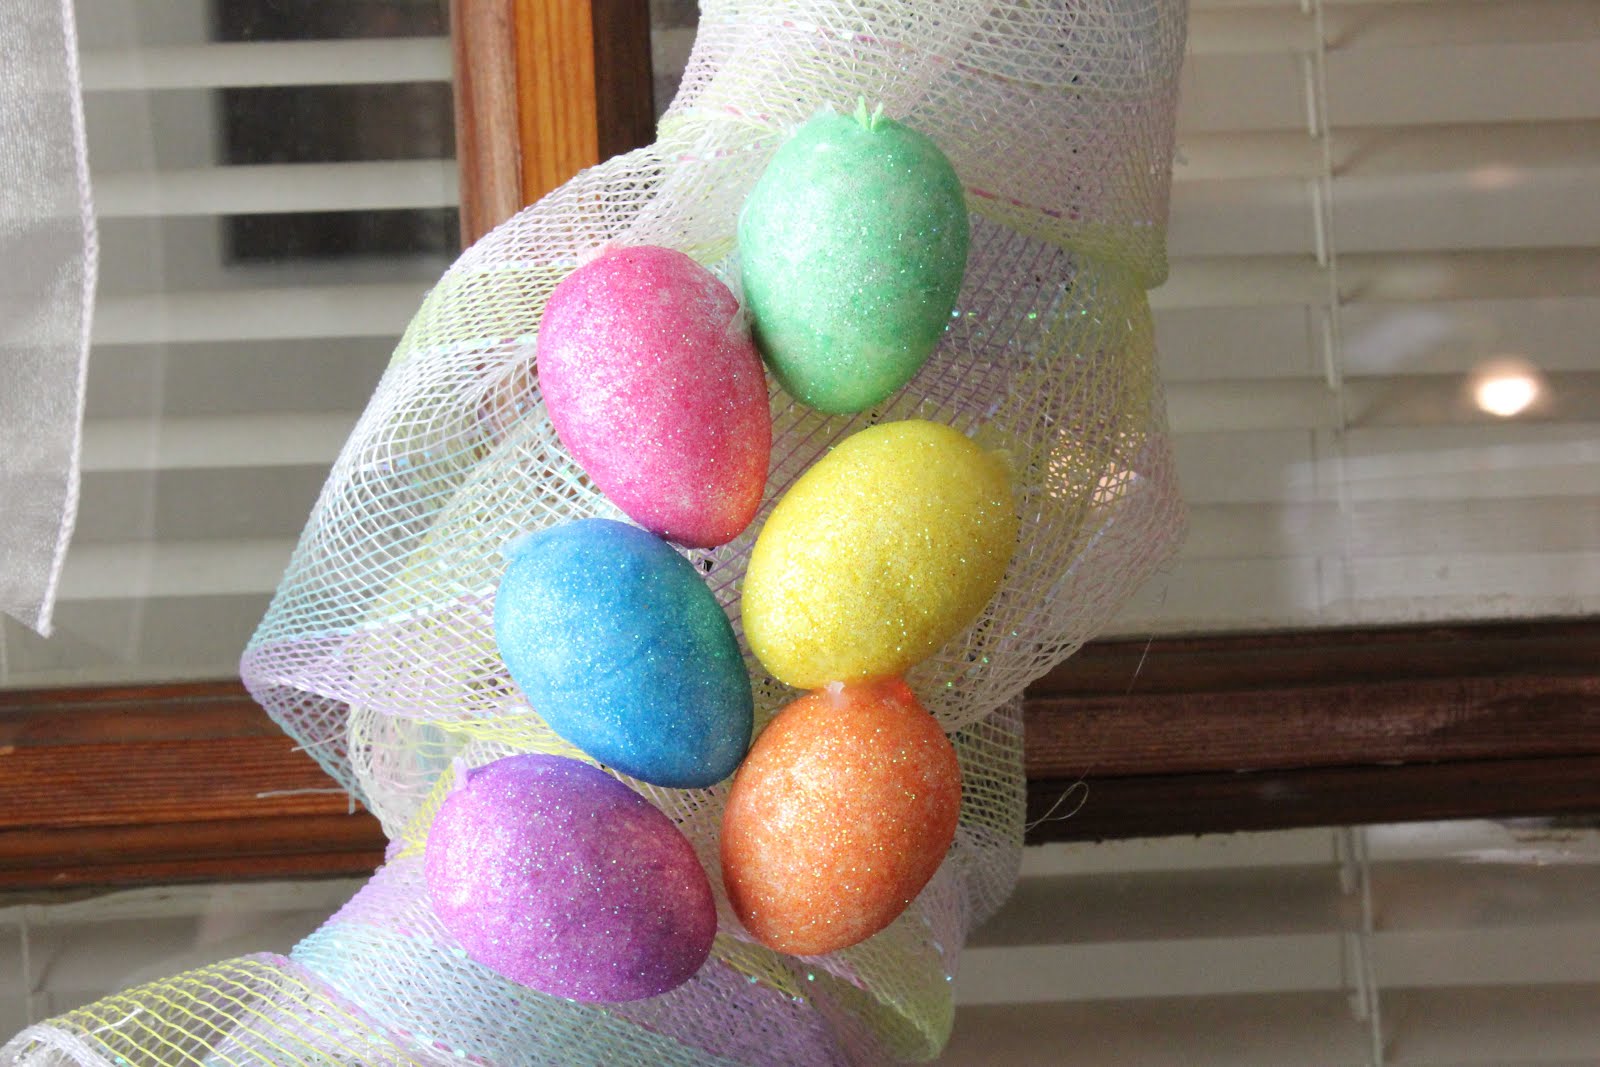
I've been seeing all kinds of beautiful wreaths made with deco mesh lately and I wanted to try it out. I had a piece wrapped around the handle of a big Easter basket photo prop from last year, so I grabbed it and tried my best to make a poufy adorable wreath.

Only I didn't. No matter how I tried to wrap the mesh, I could not make the pouf. So I did something else instead.


....And I think it's adorable. I used a wire wreath form I already had on hand, and just wrapped the mesh around it. Then glued some little eggs to the side and made a bow and tails and a place to hang it. I think it's perfect on my side door.

Monday, April 2, 2012

Mac Monday #2

This past week, we have spent almost all of our free time outdoors. Cleaning off the side and front porches, mowing the lawn, weeding the driveway, painting furniture and terra cotta pots. It has been a fruitful and time consuming few days. As much as Mac loves going outside there is no way I could leave him in during all this, watching as we painted and pulled and mowed.

This past weekend, it has been cold and rainy and we have not been very keen on spending much time outdoors. So, any time either of us go within several feet of the door there is lots of frantic barking and whining. Heaven forbid you leave the door open for light, because then you have to answer to this face:
We cannot wait for more sunshine.

Saturday, March 31, 2012

Dinner Is Served: Pizza Ring

For the past few months we have been on a diet here in my house. One night each week however, is cheat night. Cheat Night can be any night of the week but has to be at least a few days after the previous CN. No falling off the wagon here (hopefully)!

Anyway, last night was out cheat night. We were planning on ordering pizza, a unanimous favorite in our house, but when I found this post over at Pocket Change Gourmet I knew we had to try it.


I didn't follow the recipe exactly ( and forgot a few things at the store, honestly) but it came out great! Here is what I did:

I rolled out the crescent rolls just like on the Pocket Change Gourmet blog. Instead of sauce (the forgotten ingredient) I melted a little butter, garlic powder, and oregano together and used a basting brush to brush on the bare crescents. Then I layered all the ingredients on one at a time: Pepperoni, Mushrooms, Olives, Banana Peppers, and then topped with cheese. Finally, after rolling up per directions, I brushed the tops of the rolls with more of the butter mixture and sprinkled on a little more cheese.

Forgotten ingredients and all, this was a fabulous dinner and the recipe is going in my keeper file. I can see all sorts of cheat nights dedicated to the Pizza Ring.